


I got that counter in April of 2006, and there's been 143,456 total page views since then, and 107,535 total visits. Not bad for a little over six years of counting visits to my blog.
I know that there are still people visiting my blog. I still get the occasional comment, and I've had people email me directly too.
edit:
I went digging around on the settings of my blog, and found the activity counter stuff that only I can see. Surprised me to see that there were actually over 100 page views of my blog today. I didnt know about this particular setting (blogspot/blogger changed a few things a few months ago, and I havent looked at it much lately because I've been busy with my mom being sick and myself being sick)
At least I can tell that people still wander in to look at my blog occasionally.
 Back in February I discovered the tv show "Sherlock". It's a modern telling of Sherlock Holmes.(stars Benedict Cumberbatch as Sherlock, and Martin Freeman as John Watson.) The creators of the show took Sherlock Holmes and John Watson and set the show in modern times. (think the first season was filmed in 2010) I fell in love with the show (and both of the main actors) within the 8 minutes of the first episode. A friend of mine had suggested the show, so I'd downloaded the first episode off of iTunes and after the first 15 minutes of the first show, I'd gone back and downloaded the other two.
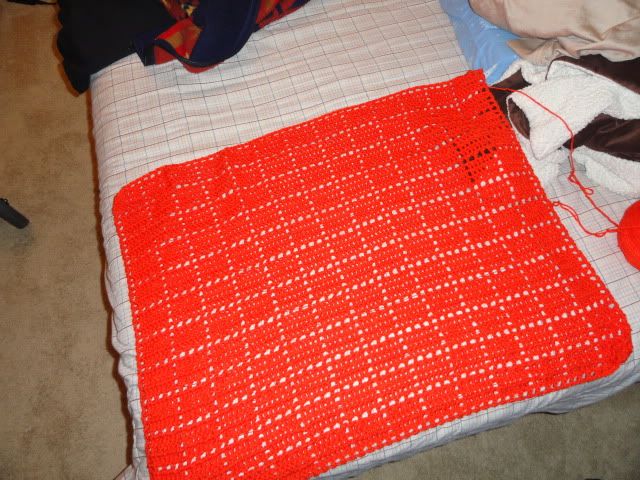
In one scene in the first episode, Sherlock is sitting in the back of an ambulance with an orange blanket over his shoulders, and he asks (Detective) Inspector Lestrade why he's got this blanket... Lestrade tells him "It's a shock blanket Sherlock, it's for shock.". Sherlock tells him he's not in shock...and I think that's all I'll say about the scene because I dont want to ruin it for anyone who hasnt watched it yet.
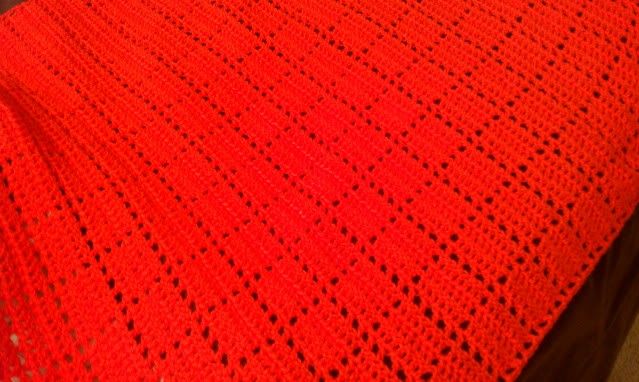
I joined a group of crocheters and knitters that like the show and anything Sherlock related. Everyone was talking about crocheting or knitting "shock blankets". So I finally decided what to do with a crochet pattern I had floating around as just an idea in my head last fall and wasnt sure what I wanted to do with it or if it would work. I ended up making a "Shock Blanket Shawl". It's basically a very long, extremely wide scarf...or a very long, very narrow afghan.
The yarn I used is Hobby Lobby's "I Love This Yarn". I really like how this turned out, and the orange is actually kind of nice. It's becoming one of my favorite colors to crochet or knit with. (there may be a knitted scarf coming soon)
The pattern is fairly quick to do. I'd have been finished with it in just a few weeks if I hadnt had a bit of a vision problem earlier this spring that made me pretty much half blind. (better now) I had to put the shawl down for the better part of a month when it was a little more than half finished. Once I started it back up, I had the shawl finished within a week.
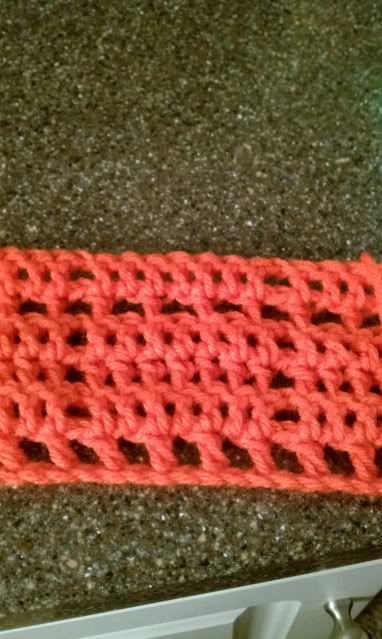
I'm kind of planning on posting the pattern once I write it up and hopefully have someone test it for me. I've already crocheted a scarf using the same stitch combination (scarf started out as a swatch and I decided to turn it into something useful)
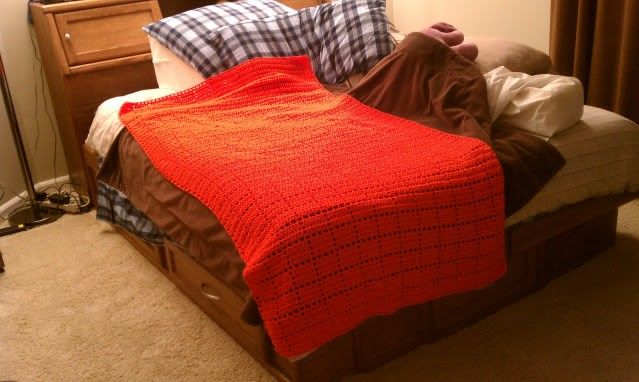
Here's the rest of the pictures of the shawl.
I thought I had taken some still pictures of what my bathroom looked like before the remodel. If I did, I cant find them. The video is kind of shaky, and I went pretty quickly with it, but it gives you an idea of what I had before.
I'm not the greatest pattern writer. I had to have help with the rectangle granny square to make it readable and understandable. So, if these patterns are a bit confusing, I'm sorry. I didnt ask anyone to help me with writing these out. I pretty much wrote them out as I was making them, and saved them in Word until I decided tonight to post this.

(this is the first pattern, wrote it out kind of basic)
Fingerless mitt
Chain 25
Hdc in each sts for 9 rows
Row 10: chain 2, hdc for 5 sts, ch 2, sk 2 sts, hdc in each sts to end of row
Rows 11 to 18, hdc in each sts till you have 18 rows
Fold lengthwise and sew or crochet up the side to finish off.
(this is the second version. Basically the same as the first one, except that I changed the chain-up part from a chain-2 to a chain-1.)
Fingerless Mitts
(Make two)
Foundation Row: Chain 25
Row 1: half double crochet in 2nd chain from hook, half double crochet in each st to end of row.
Row 2: Chain 1 loosely. (you don’t really need height on this one, and just doing a loose ch-1 gives you enough height, and you dont end up with that loopy look on the ends that a ch-2 gives you sometimes) Half double crochet in each st till end of row.
Work in pattern to Row 10.
Row 10: (thumbhole row) ch 1, hdc in next 5 sts, ch 2, skip next 2 sts, hdc in next st. Hdc in each st to end of row.
Rows 11 to 18: hdc in each sts to Row 18.
Fold lengthwise and sew or slip stitch up the side to make a tube.
(Optional) You can crochet around the edge of the openings to give it a more finished look. I did that for one pair of fingerless mitts I made for my brother-in-law. I didnt care for the edging on the ends of the mitts tho)
I took pictures, but then over the summer I was a bit sick, and now dont remember which of the mitt pictures I took was which. I used the same color yarn for both pairs, and I guess now it doesnt really matter which one was made first. At least you can get a basic idea of what they looked like when I was finished.


